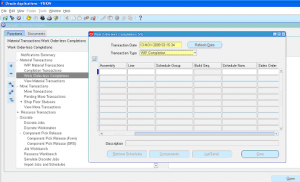
Discrete Job or Work In Process (WIP) Job is a work order issued to shop floor to manufacture or assemble an item.
WIP Jobs can be created in 6 different ways
- Manually enter/create.
- Convert from a simulation.
- Planned order release from Supply Chain Planning / MRP.
- Planned order release from Advanced Supply Chain Planning.
- Auto create from a Configure to Order (CTO) Sales Orders.
- Using work order open interface
In this section you will learn how to create WIP jobs manually.
Navigate to Work In Process responsiblity -> Discrete -> Discrete Jobs.

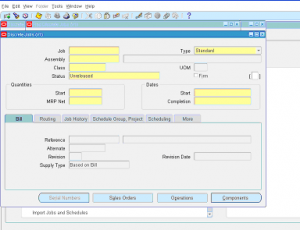
wip discrete job creation
1 ) Enter the WIP Job number manually or tab out to generate the Discrete WIP Job number automatically.
2 ) Select Discrete Job type.
3 ) Enter the assembly that needs to be manufactured.
4 ) Enter WIP Job class
5 ) WIP Job status – by default it will be in ‘created’ state, once you are ready to manufacture you can change the status to ‘Released’.
6 ) Enter the Start quantity i.e. total quantity that will be manufactured.
7 ) MRP net quantity – This is the quantity that MRP assumes available as supply. This should be less than or equal to start quantity (total quantity of discrete job).
8 ) Dates: Enter the start and completion dates. Completion date can be blank, it will be calculated based on lead time when wip job scheduled.
9 ) Navigate to ‘Bill’ tab – Select the specific item bom revision
10 )Navigate to ‘Routing’ tab – Select specific item routing revision, set the assembly completion subinventory & locator
11 )Navigate to ‘More’ tab to enter demand class, job description & overcompletion tolerance. Over completion tolerance let you produce more/less quantity than actual quantity planned.
12 ) Click on ‘Operations’ button to view the default operations from assembly routing. This information can be modified.
13 ) Click on ‘Components’ button to view the default components from assembly bom. This information can be modified.
14 ) Finally change the WIP job status to ‘Released’ to start the discrete job manufacturing.


